DIY Mailbox Makeover: How to Upgrade Your Mailbox with Practical Features
DIY Mailbox Makeover: How to Upgrade Your Mailbox with Practical Features
Your mailbox is one of the most frequently overlooked aspects of your home’s curb appeal. Yet, it’s the first thing that greets your guests, delivery drivers, and, of course, your mail carrier. If your mailbox is looking outdated, worn out, or simply lacking in functionality, a DIY mailbox makeover can be a fun and impactful home improvement project that doesn’t require a lot of time or money.
Whether you’re dealing with a basic, boring mailbox or a custom stone structure that could use a few practical enhancements, upgrading your mailbox with useful features like mail notification flags, locking inserts, and custom designs will not only boost your curb appeal but also make your mail system more efficient and secure.
Ready to take your mailbox from drab to fab? Here’s how to give your mailbox a DIY makeover with practical upgrades that will keep it functional, secure, and stylish.
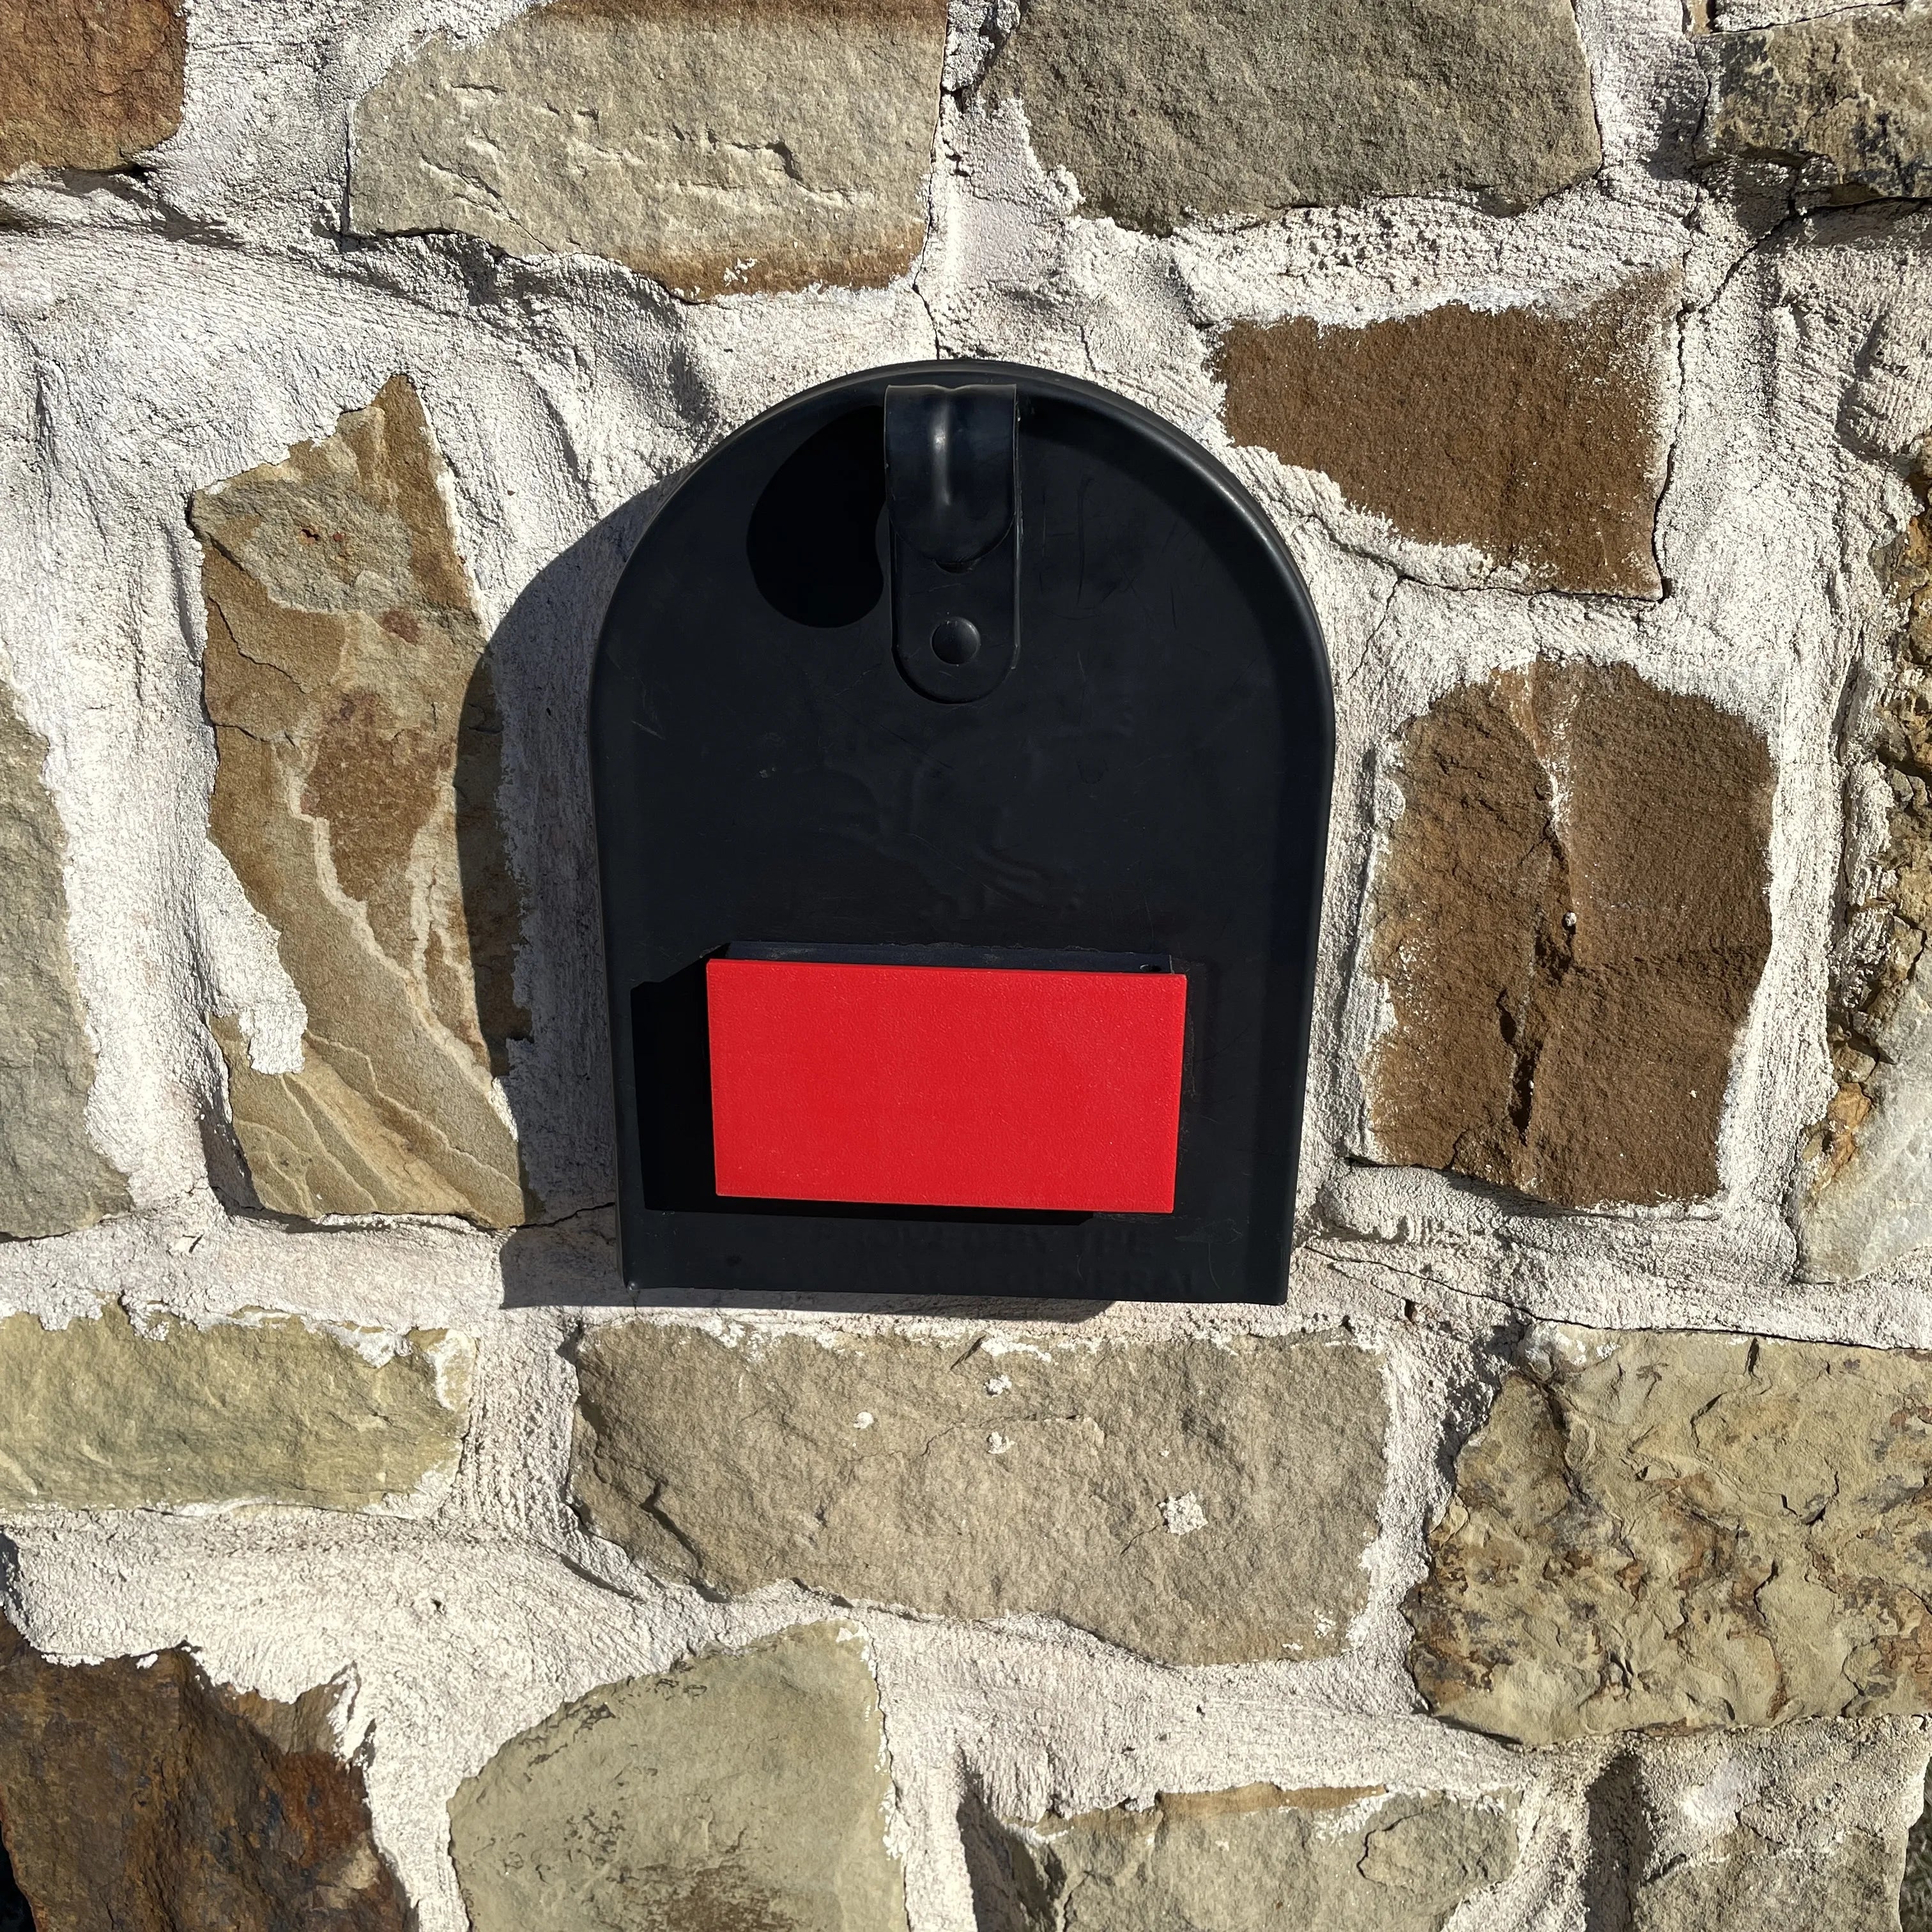
1. Add a Mail Notification Flag for Convenience
One of the easiest and most functional upgrades you can add to your mailbox is a mail notification flag. These handy devices are designed to let you know when mail has been delivered or when you have outgoing mail that needs to be picked up. If your mailbox doesn’t already have one, installing a flag can save you time and ensure you never miss an important delivery or pickup.
Why You Need One:
- Know when the mail arrives: If you don’t check your mailbox regularly or it’s located far from your house, a notification flag will raise when new mail arrives, so you don’t waste trips to an empty box.
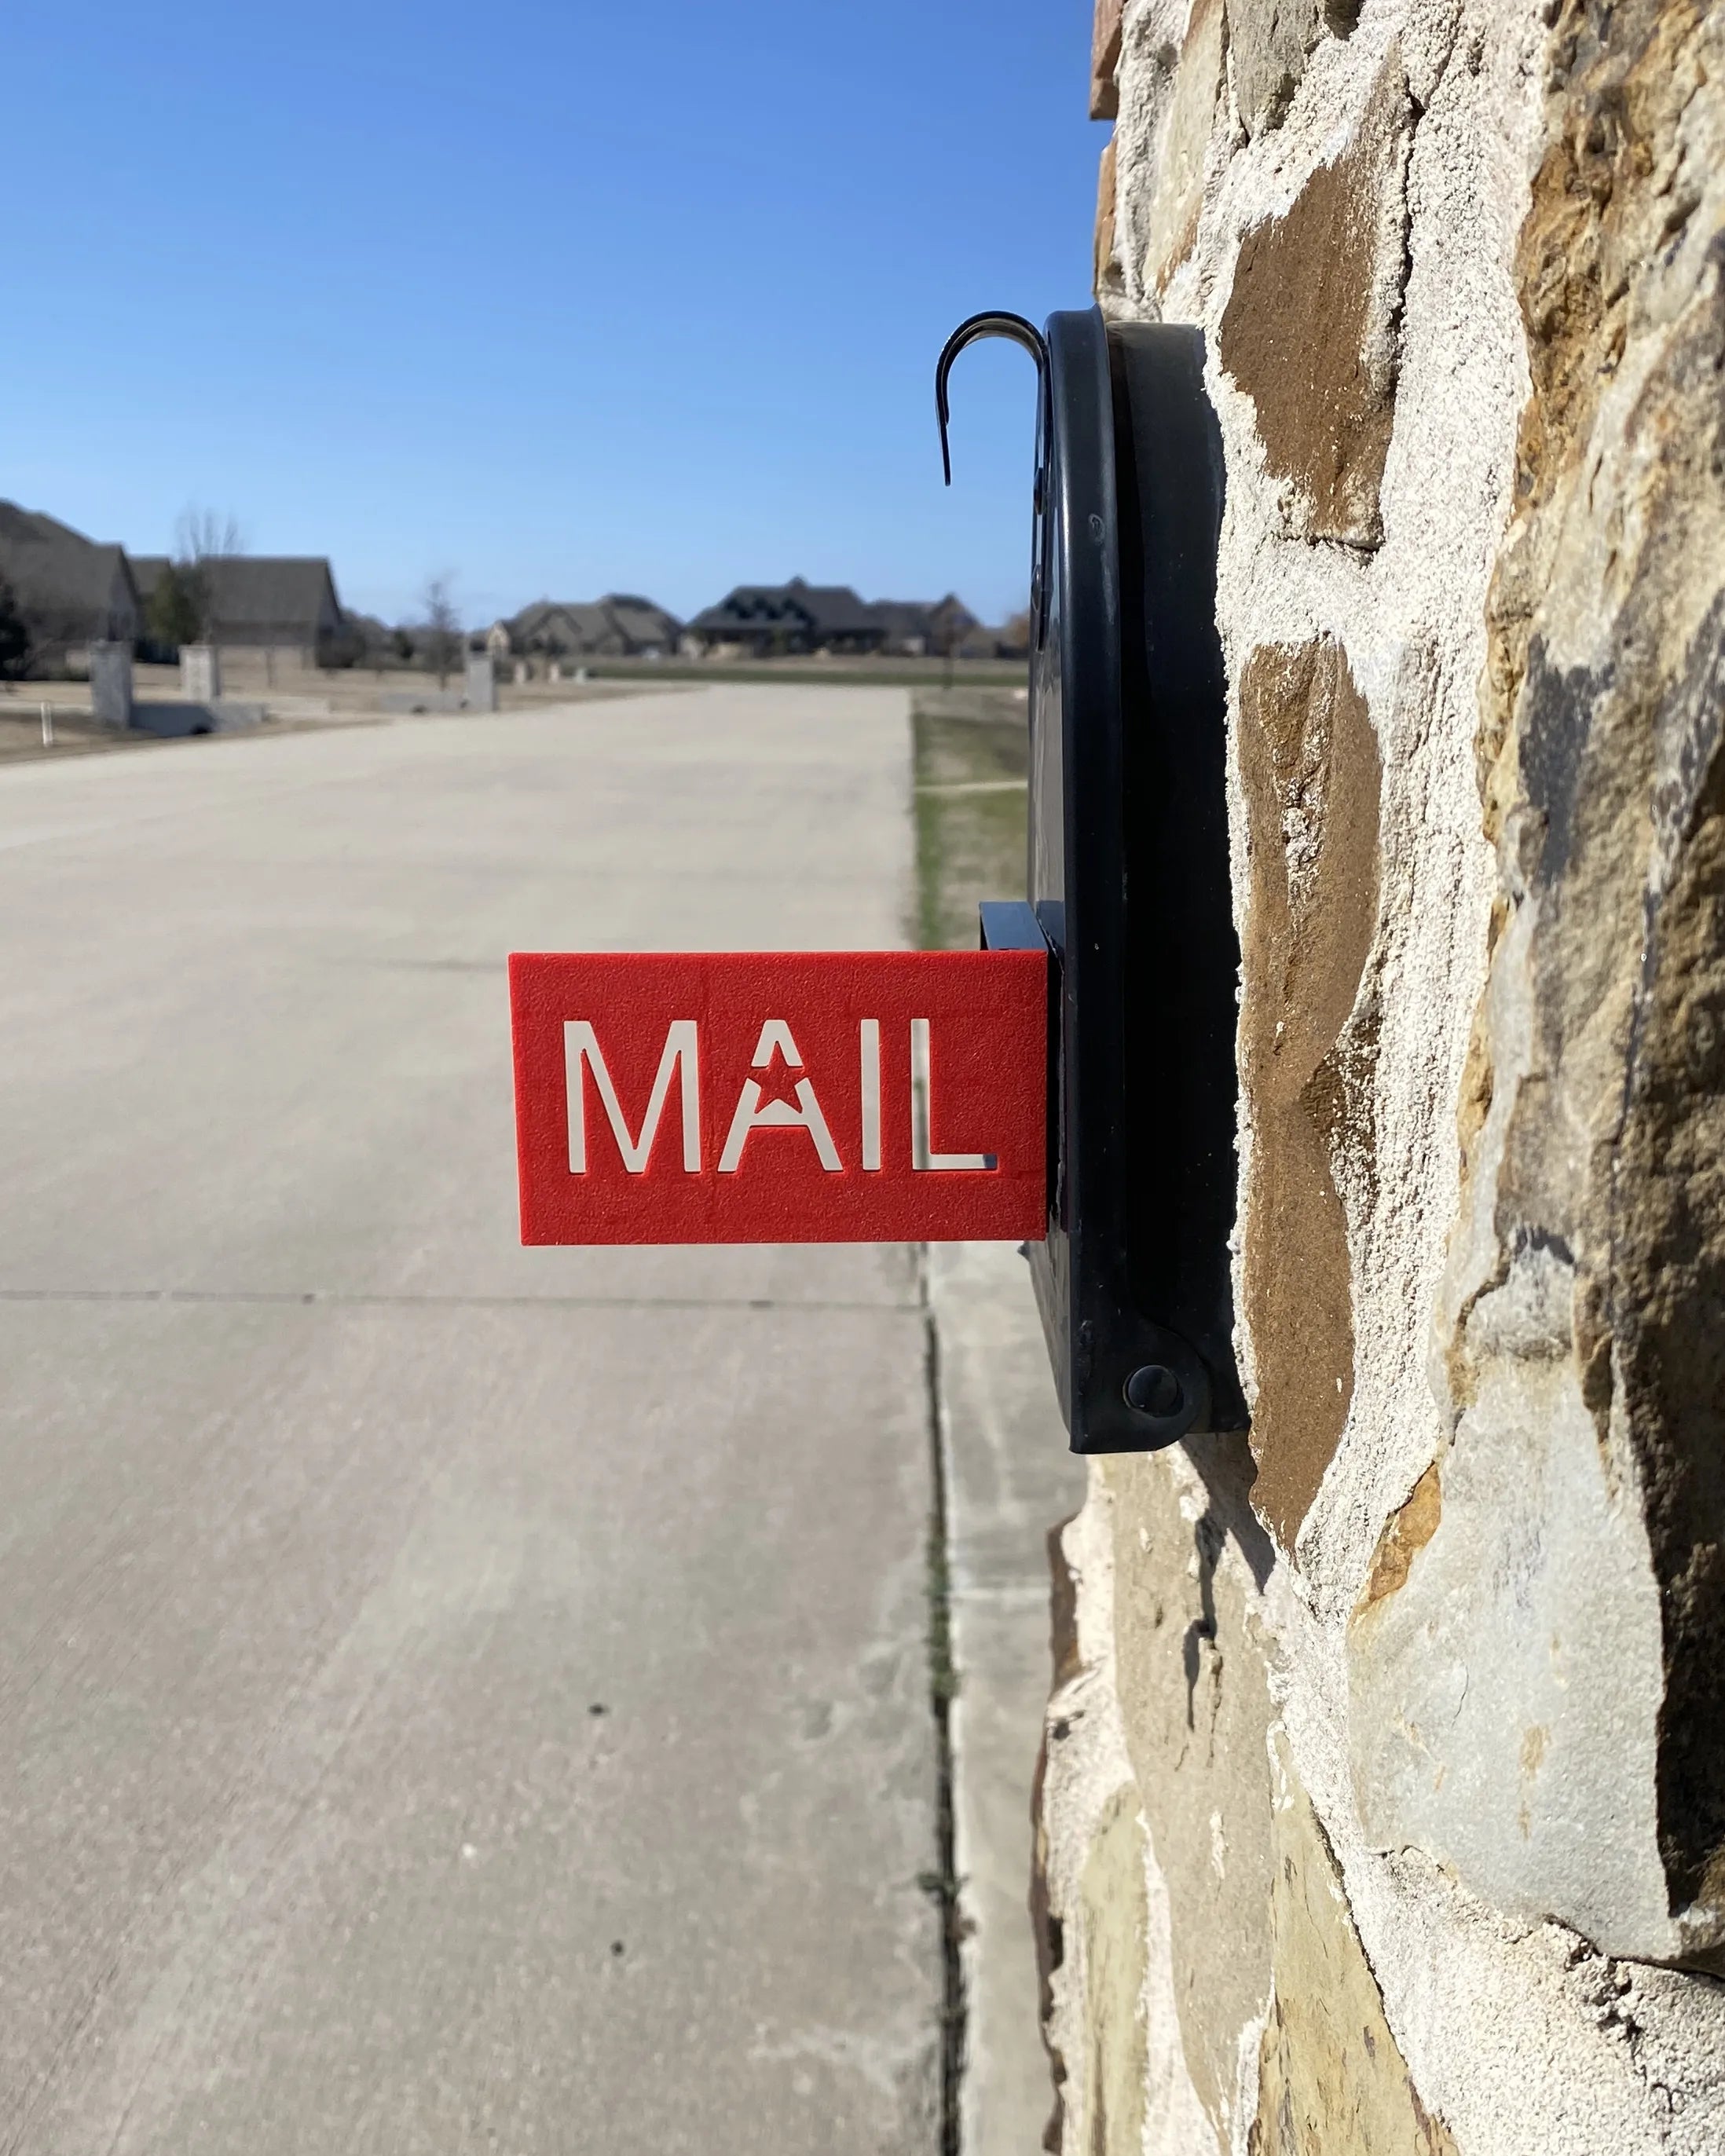
- Signal outgoing mail: A raised flag lets your mail carrier know you have outgoing mail ready to be picked up. This is particularly useful for rural homes or those with longer driveways.
There are two types of notification flags:
- Manual flags: You raise the flag yourself when you put outgoing mail in the box. After the mail is collected, the carrier lowers the flag.
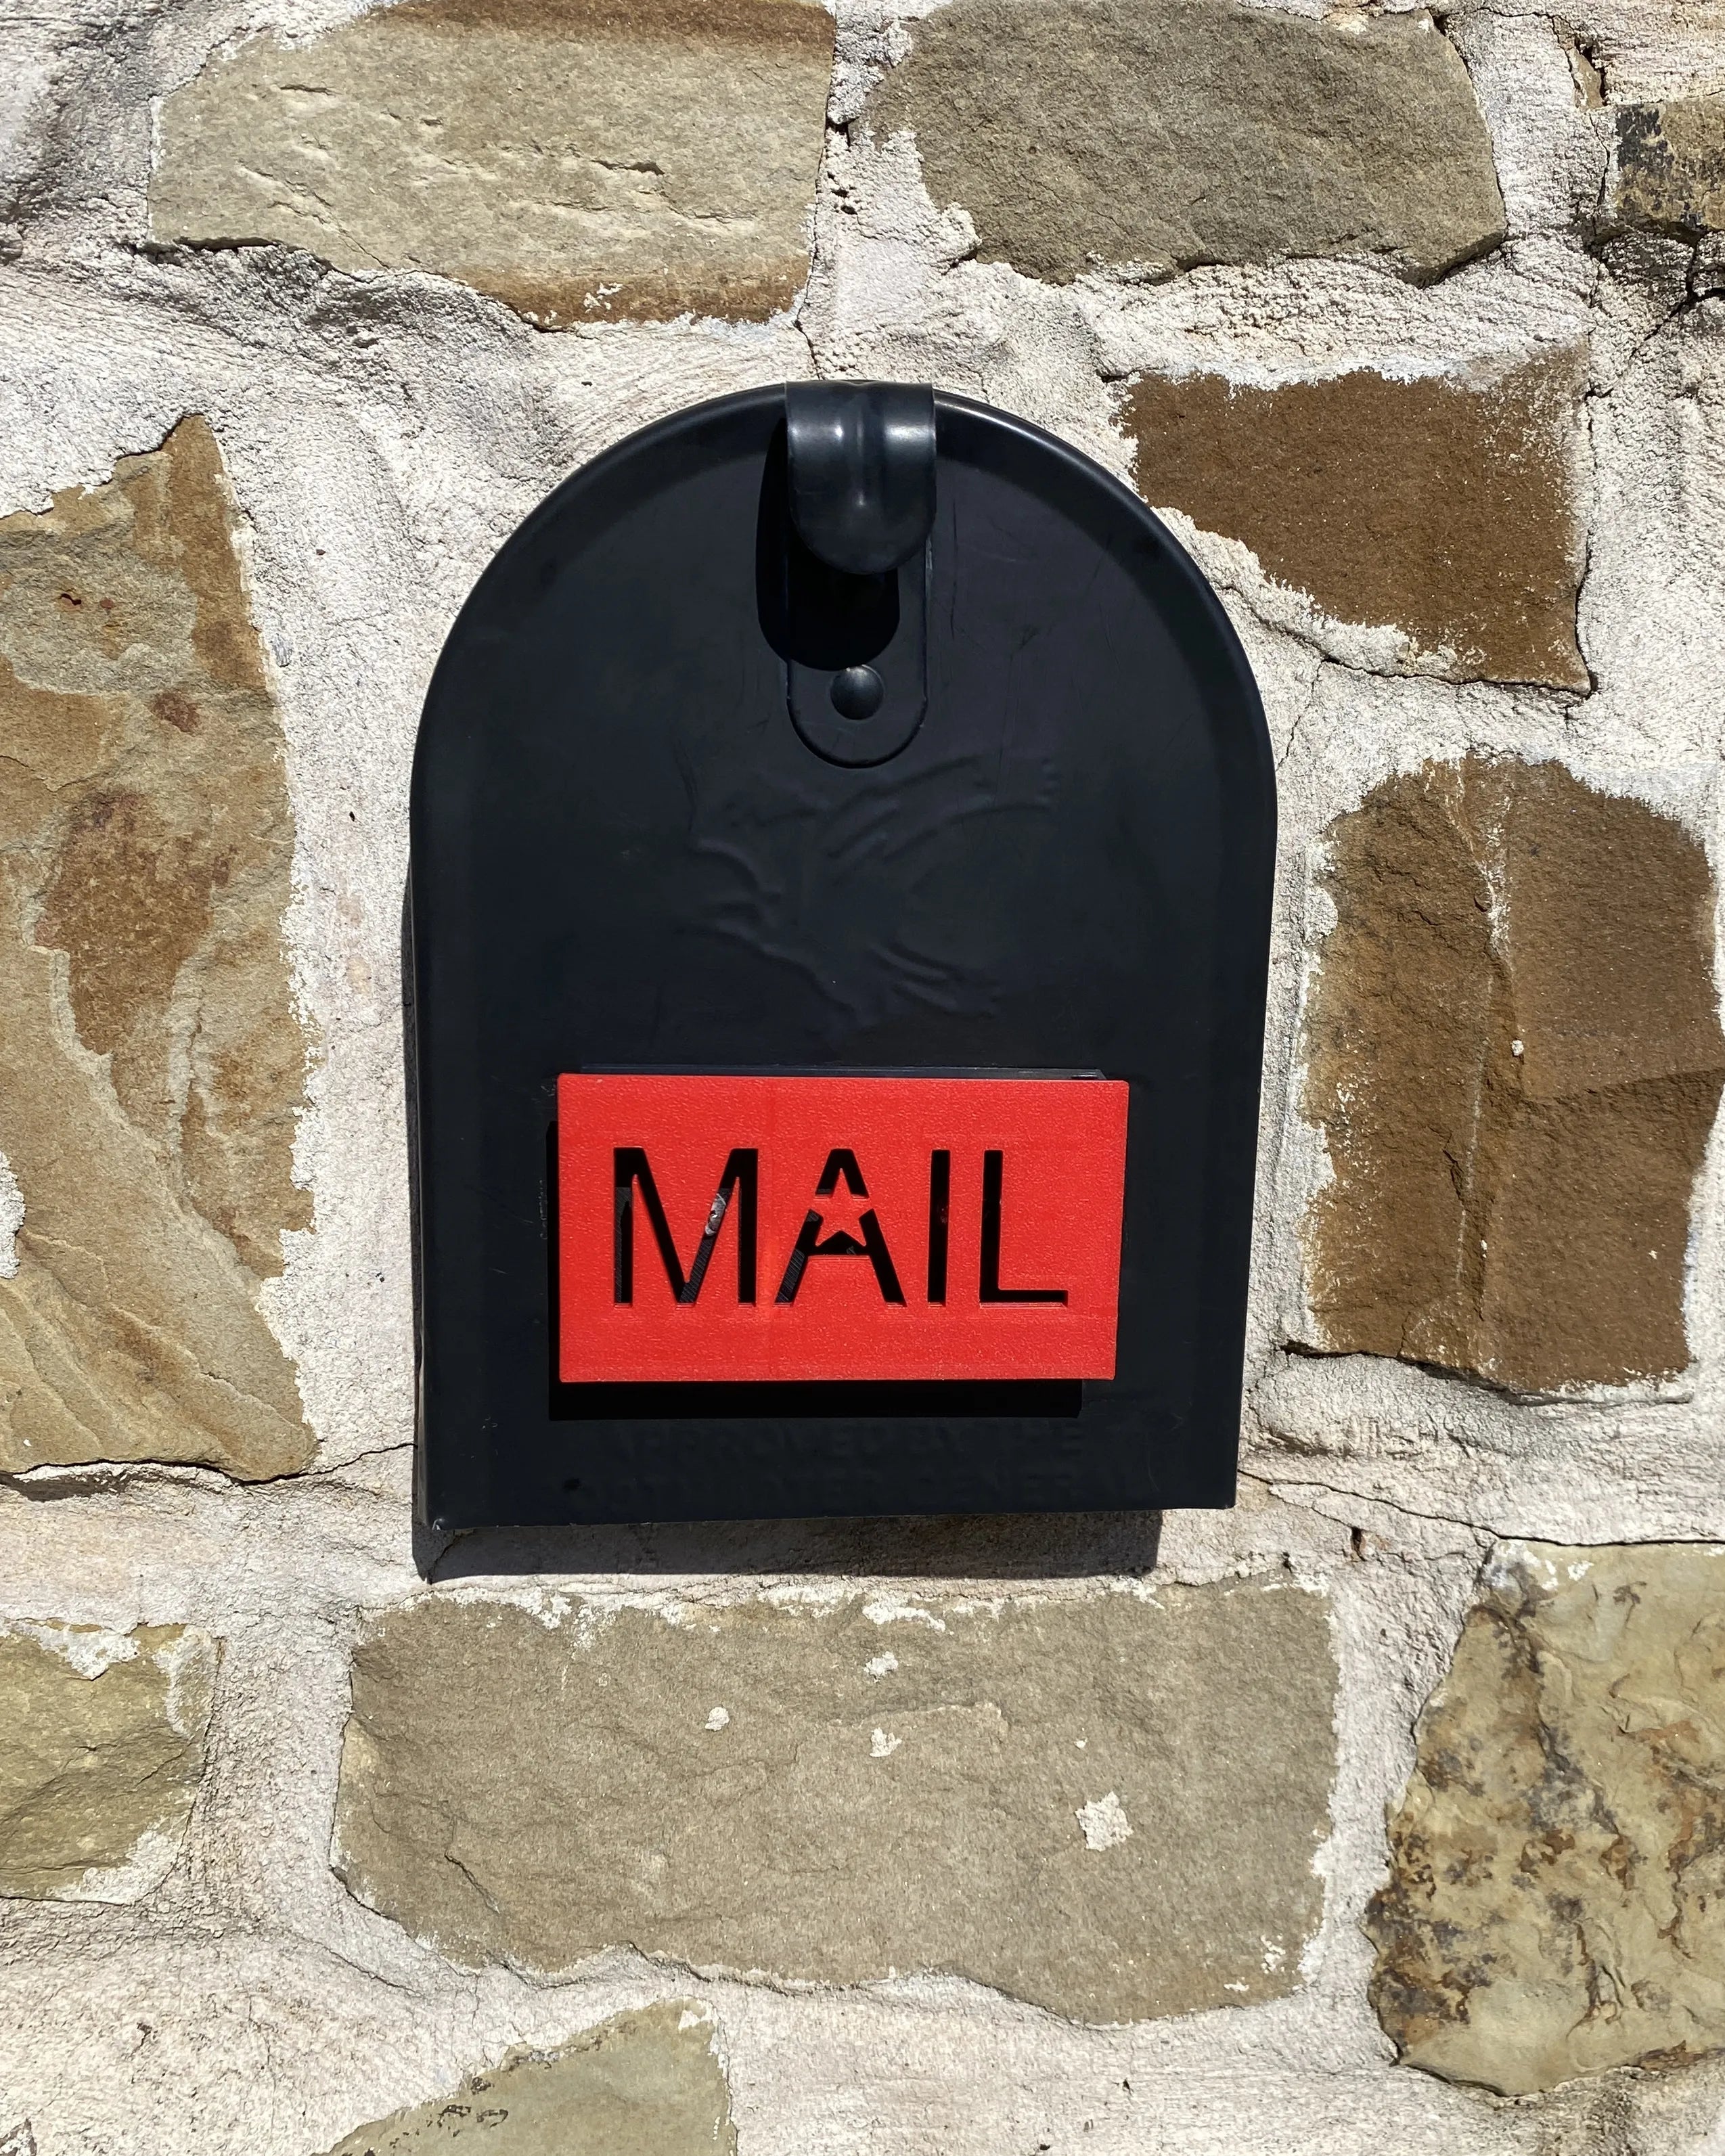
- Automatic flags: These flags are triggered when the mailbox is opened for a delivery, raising automatically to signal new mail has arrived.
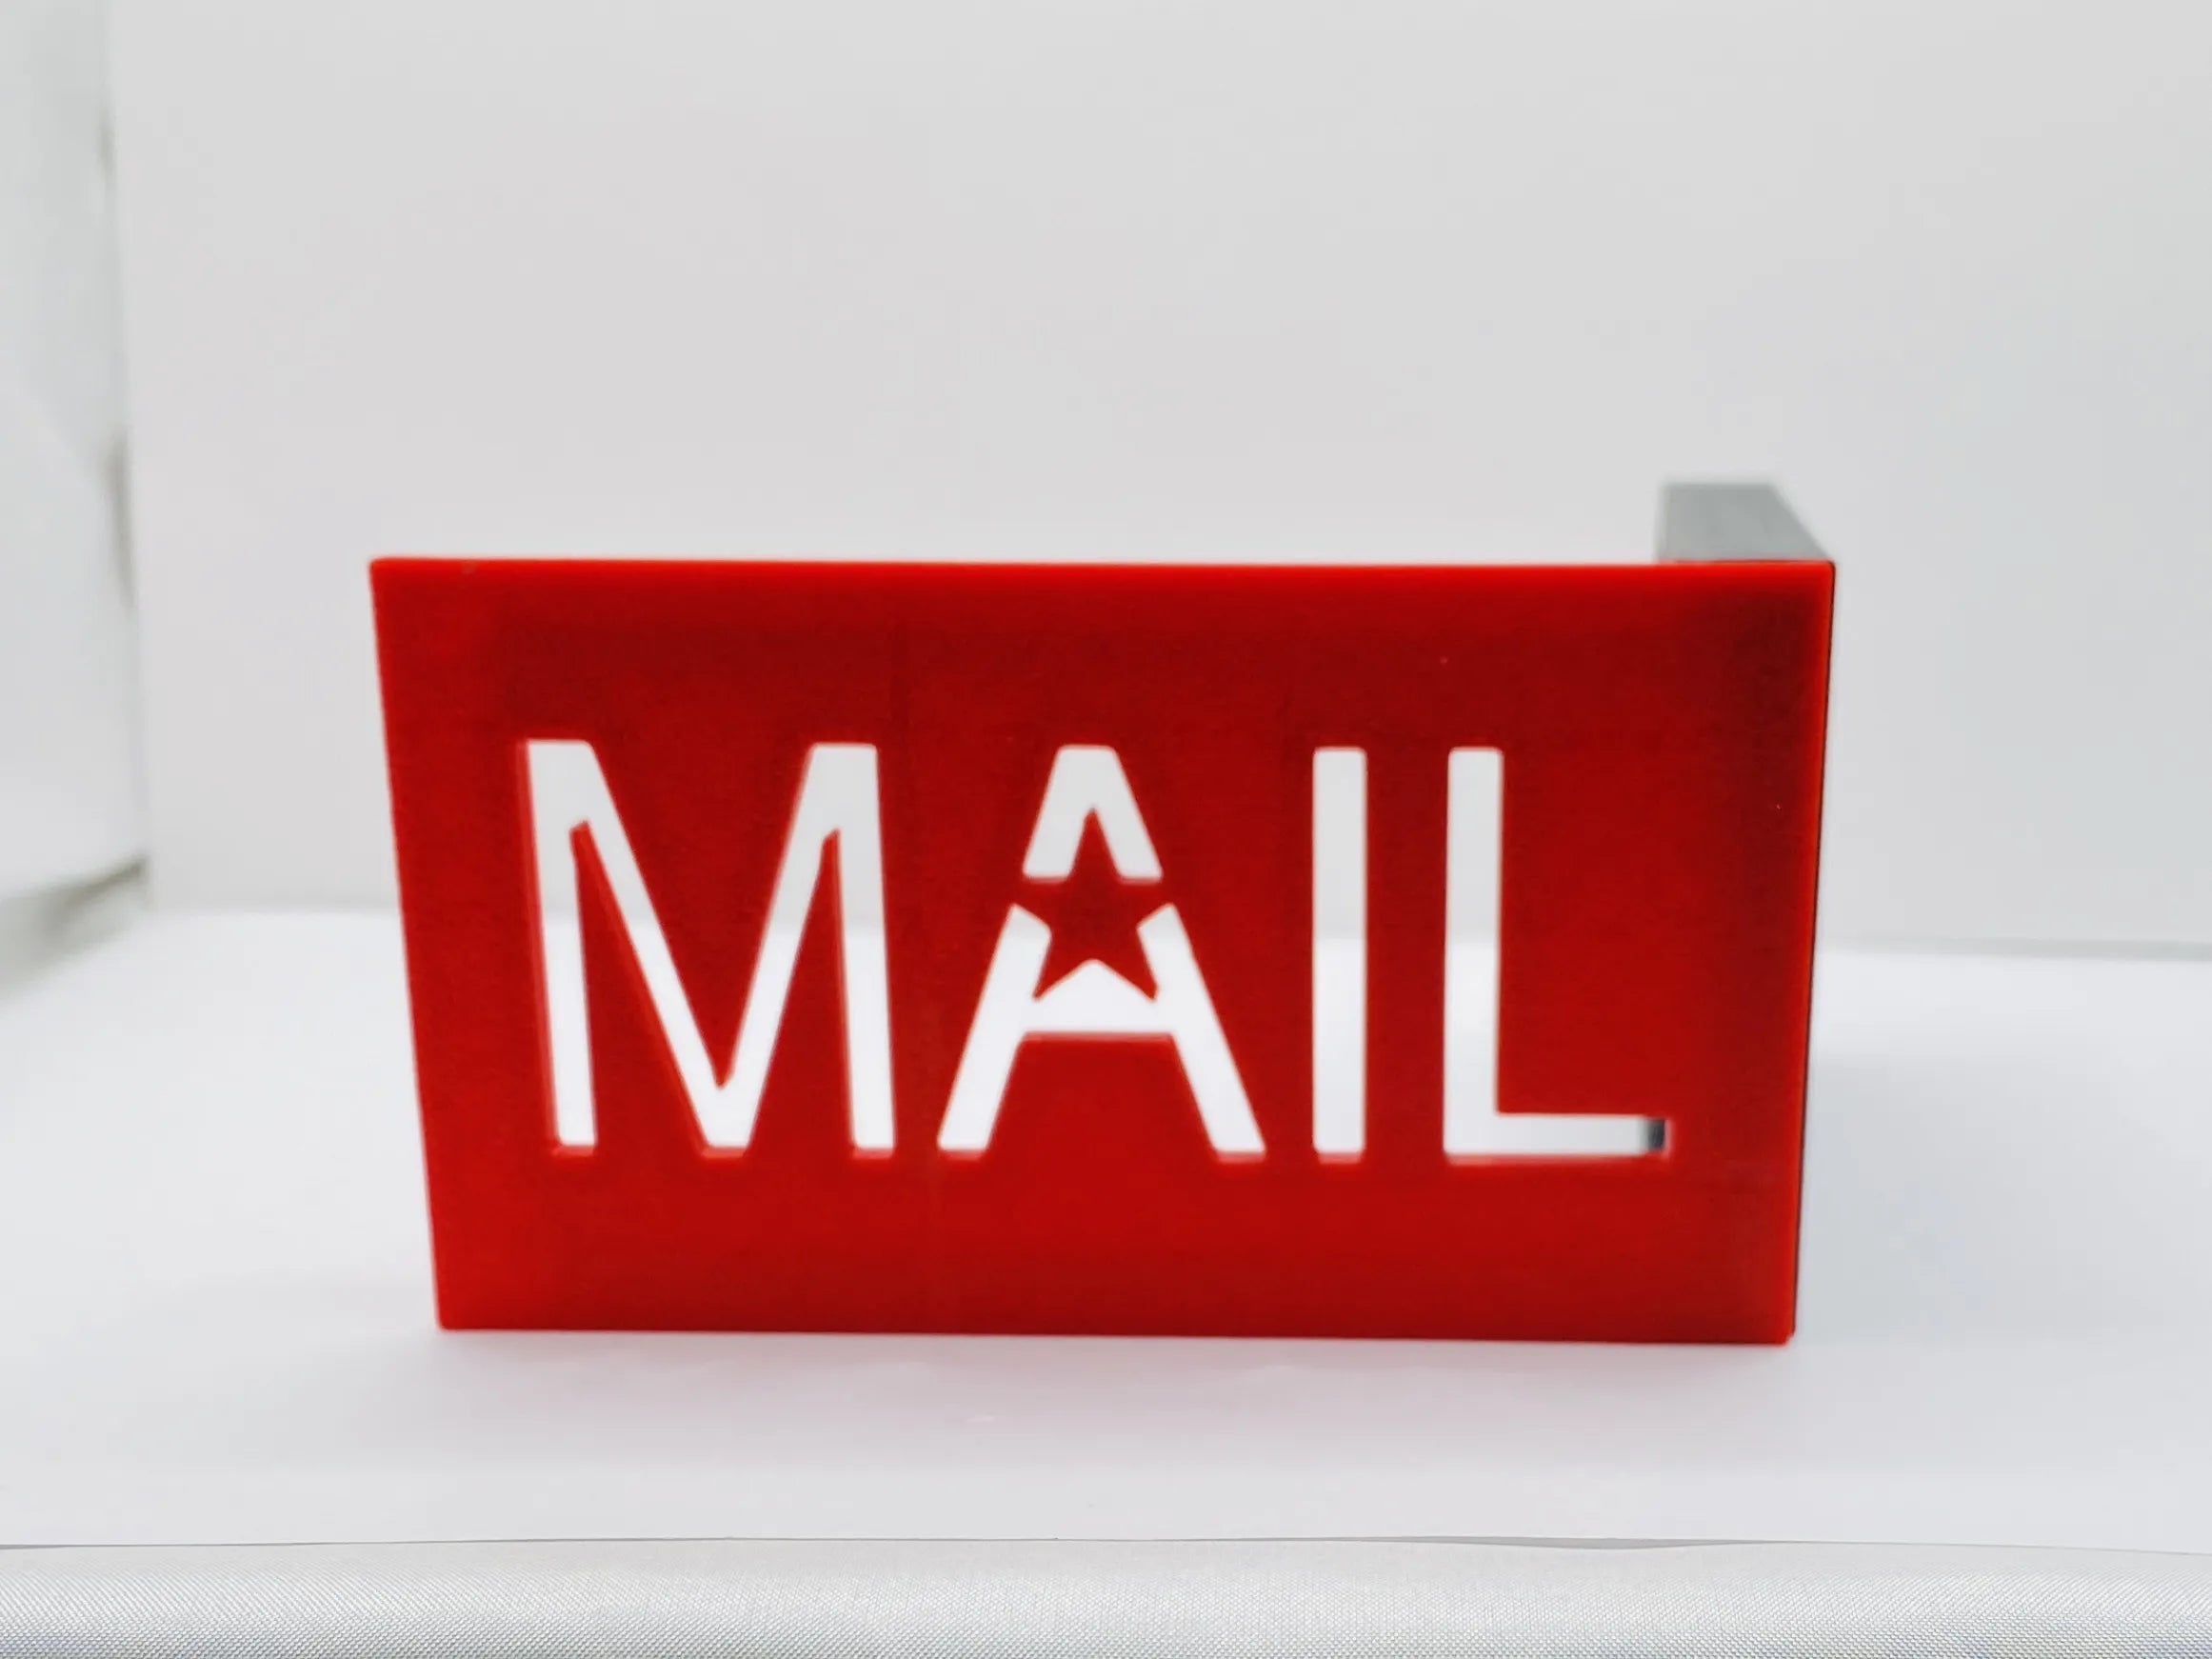
DIY Installation: Most flags come with easy-to-install mounting kits that can be attached to both traditional and custom mailboxes. If you have a stone or brick mailbox, look for flags that come with specialized brackets or adhesive strips designed for non-traditional surfaces.
2. Install a Locking Insert for Enhanced Security
With the rise of mail theft, upgrading your mailbox to include a locking insert is a smart way to protect your important documents, checks, or packages from being stolen. Locking inserts are designed to secure your mail after it’s delivered, allowing only you (with a key) to access the mailbox.
How a Locking Insert Improves Security:
- Prevents mail theft: Locking inserts provide an additional layer of security, ensuring that no one can access your mail after it’s delivered. This is especially important if you frequently receive sensitive mail or checks.
- Maintains a neat appearance: Locking inserts fit seamlessly into most standard or custom mailboxes, maintaining the look of your mailbox while improving its functionality.
DIY Installation: Many locking inserts are designed to fit into standard-sized mailboxes without requiring major modifications. Simply insert the locking mechanism inside your existing box and secure it with the provided hardware. For custom mailboxes, be sure to measure your mailbox’s dimensions to find an insert that fits properly.
Pro Tip: If you have a larger mailbox or frequently receive packages, consider upgrading to a parcel-sized locking mailbox that can accommodate bigger deliveries.
3. Personalize with Custom Mailbox Decals and Numbers
Nothing says curb appeal like a personalized touch! Adding custom decals or house numbers to your mailbox is a quick and affordable way to give it a fresh look that reflects your personality or matches your home’s design.
Why Personalization Matters:
- Boosts curb appeal: Personalized decals or custom house numbers can make your mailbox stand out and complement your home’s exterior design.
- Improves visibility: Reflective decals or house numbers can help make your home easier to find, especially at night. This is particularly helpful for guests, delivery drivers, and even emergency responders.
DIY Customization: Applying decals or number stickers is an easy DIY project. Most mailbox decals are made from weather-resistant vinyl and can be applied in minutes. Be sure to clean the surface of your mailbox first to remove dirt and debris, then carefully align and stick the decal or numbers in place.
Pro Tip: For a more elegant look, consider purchasing a custom metal address plaque to attach to the side or top of your mailbox. These are available in a variety of styles and can be customized with your family name or house number.
4. Upgrade with a New Mailbox Post
If your mailbox is sitting on a rusty, leaning, or worn-out post, it’s time for an upgrade! A new mailbox post can dramatically improve the look and stability of your mailbox, providing both functional support and enhanced curb appeal.
Post Options to Consider:
- Wood posts: For a classic, rustic look, wooden posts are a great option. They can be painted or stained to match your home’s exterior and are relatively easy to install.
- Metal posts: Sleek, durable, and weather-resistant, metal posts offer a modern, minimalist look that pairs well with contemporary mailboxes.
- Decorative posts: If you want to add a touch of elegance, decorative posts with scrolls or detailed designs can give your mailbox a high-end look.
DIY Installation: Most mailbox posts are easy to install and come with pre-drilled holes for mounting your mailbox. Simply remove your old post, dig a new hole (about 24 inches deep), and set the post in with concrete to keep it secure. Once the post is in place, attach your mailbox according to the manufacturer’s instructions.
Pro Tip: Consider a matching post cap or finial for added flair. These decorative details can be the finishing touch that makes your mailbox look polished and unique.
5. Add a Mailbox Cover for Seasonal or Holiday Style
If you love decorating your home for different seasons or holidays, why not extend that festive spirit to your mailbox? Mailbox covers are an easy way to add a temporary, seasonal look to your mailbox, without making any permanent changes.
Why Mailbox Covers Are a Great Upgrade:
- Seasonal decor: Change up your mailbox’s look for holidays like Halloween, Christmas, or even spring and fall with decorative covers.
- Protects your mailbox: Mailbox covers can help protect your mailbox from dirt, rain, or snow, keeping it looking fresh throughout the year.
- Easy to swap: Most mailbox covers come with magnetic strips or ties, making them easy to swap out as the seasons change.
DIY Installation: Adding a mailbox cover is as easy as wrapping it around your mailbox and securing it with the provided magnets or ties. Look for covers that are weather-resistant and designed to fit standard-sized mailboxes.
Pro Tip: Pair your mailbox cover with matching garden flags or outdoor decor to create a cohesive look across your front yard during the holidays.
6. Install Solar-Powered Mailbox Lights
If your mailbox is difficult to see at night, especially if it’s located at the end of a long driveway, adding solar-powered lights can improve both visibility and security. These lights charge during the day using sunlight and automatically turn on at night, making it easier for guests and delivery drivers to find your mailbox in the dark.
Benefits of Mailbox Lights:
- Improved visibility: Make your house number or mailbox easier to spot, especially for evening visitors or delivery drivers.
- Added security: A well-lit mailbox can help deter potential mail thieves who prefer to operate under the cover of darkness.
- Eco-friendly: Solar-powered lights are energy-efficient and require no wiring or electricity to operate.
DIY Installation: Solar-powered lights are typically mounted on or near the mailbox post using simple screws or adhesive strips. Position the light where it will receive maximum sunlight during the day, ensuring it charges fully and provides bright illumination at night.
Pro Tip: Opt for motion-sensor lights that turn on only when someone approaches, giving you extra security without the need for constant illumination.
Conclusion: Time for a Mailbox Makeover
A DIY mailbox makeover is a simple yet effective way to upgrade the look, functionality, and security of your home’s mail system. Whether you’re adding a mail notification flag for convenience, improving security with a locking insert, or boosting curb appeal with custom decals and a fresh post, there are plenty of practical upgrades that can make your mailbox stand out.
By following these easy DIY tips, you can transform your outdated mailbox into a stylish, functional feature that not only enhances your home’s exterior but also improves the efficiency and security of your mail system.
Ready to start your mailbox makeover? Explore our selection of mail notification flags, locking inserts, and other mailbox accessories to find the perfect upgrades for your home.
FAQs:
Q: How difficult is it to install a mail notification flag?
A: Installing a mail notification flag is a simple DIY project that can be completed in less than 30 minutes. Most flags come with mounting hardware, and many are designed for easy installation on both standard and custom mailboxes.
Q: Can I upgrade my mailbox without replacing the whole thing?
A: Absolutely! You can upgrade your mailbox with accessories like a new post, custom decals, locking inserts, and even a fresh coat of paint without having to replace the entire mailbox.
Q: How do I protect my mailbox from weather damage?
A: Regular cleaning, applying a protective sealant, and using weather-resistant mailbox covers can help protect your mailbox from rain, snow, and harsh sunlight.