How to Install a Mailbox Notification Flag on Stone or Brick Mailboxes
How to Install a Mailbox Notification Flag on Stone or Brick Mailboxes
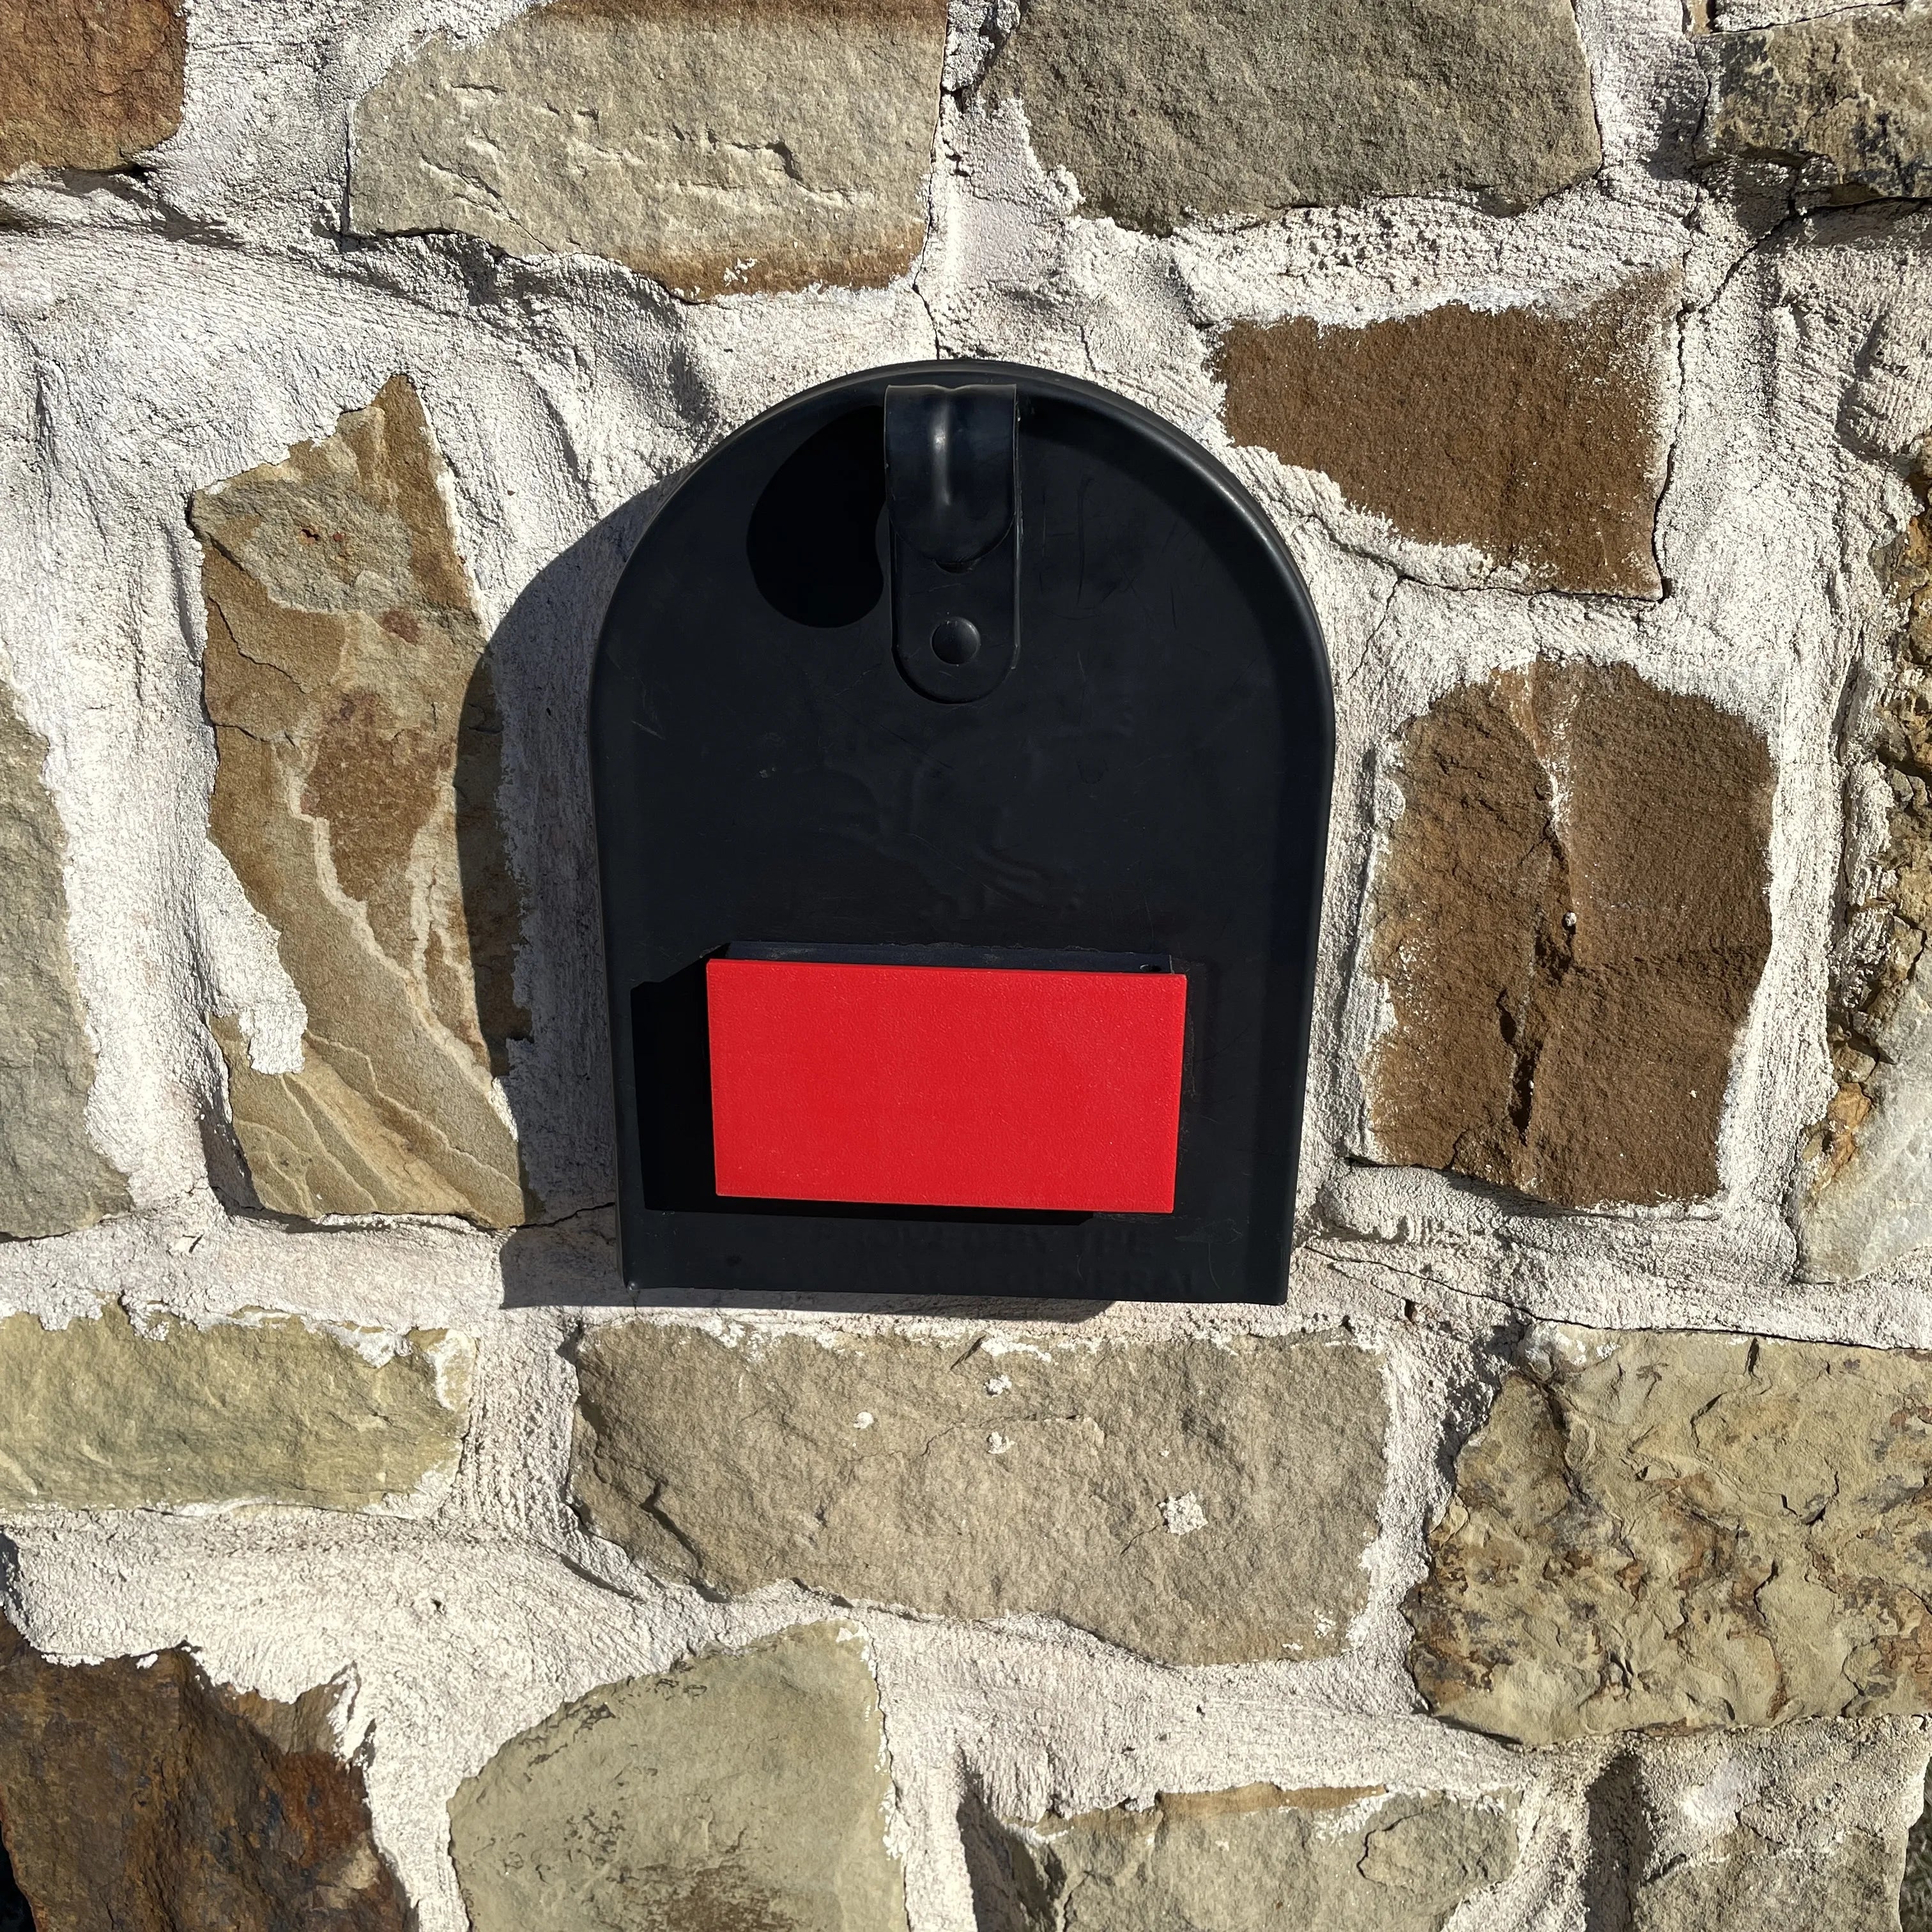
When it comes to custom stone or brick mailboxes, one common problem homeowners face is how to make them as functional as they are stylish. Traditional mailboxes often come with a built-in red flag to signal outgoing or incoming mail, but custom stone or brick mailboxes usually don’t include this feature. The good news? Installing a mailbox notification flag on these types of mailboxes is a simple, DIY project that can make a huge difference in your day-to-day life.
In this guide, we’ll walk you through the process step-by-step, so you can easily install a notification flag and ensure you never miss a delivery again.
Why Install a Mailbox Notification Flag on a Stone or Brick Mailbox?
Stone and brick mailboxes are popular for their durability and curb appeal, but they often lack the practical features found in standard metal mailboxes—like a built-in flag. A mailbox notification flag is essential for:
- Signaling to the mail carrier that there’s outgoing mail to be picked up.
- Notifying you that incoming mail has arrived, especially if you don’t check your mailbox daily.
- Ensuring that your custom mailbox setup stays functional and user-friendly.
For those with a stone or brick mailbox, the key is choosing the right flag and installation method that works for these non-traditional surfaces.
What You'll Need
Before you dive into installation, gather the following tools and materials. While the exact method may depend on the type of flag you purchase, these items should cover most installations.
Materials:
- Mailbox notification flag (designed for stone or brick mailboxes)
- Masonry drill bit (if drilling is required)
- Screws or adhesive strips (depending on the flag type)
- Level (to ensure the flag is mounted straight)
- Masonry anchors (if using screws for a secure attachment)
Tools:
- Drill (with a masonry bit if needed)
- Measuring tape
- Pencil or marker (for marking the spot)
- Screwdriver
Once you’ve got everything ready, it’s time to get started.
Step-by-Step Guide to Installing a Mailbox Notification Flag
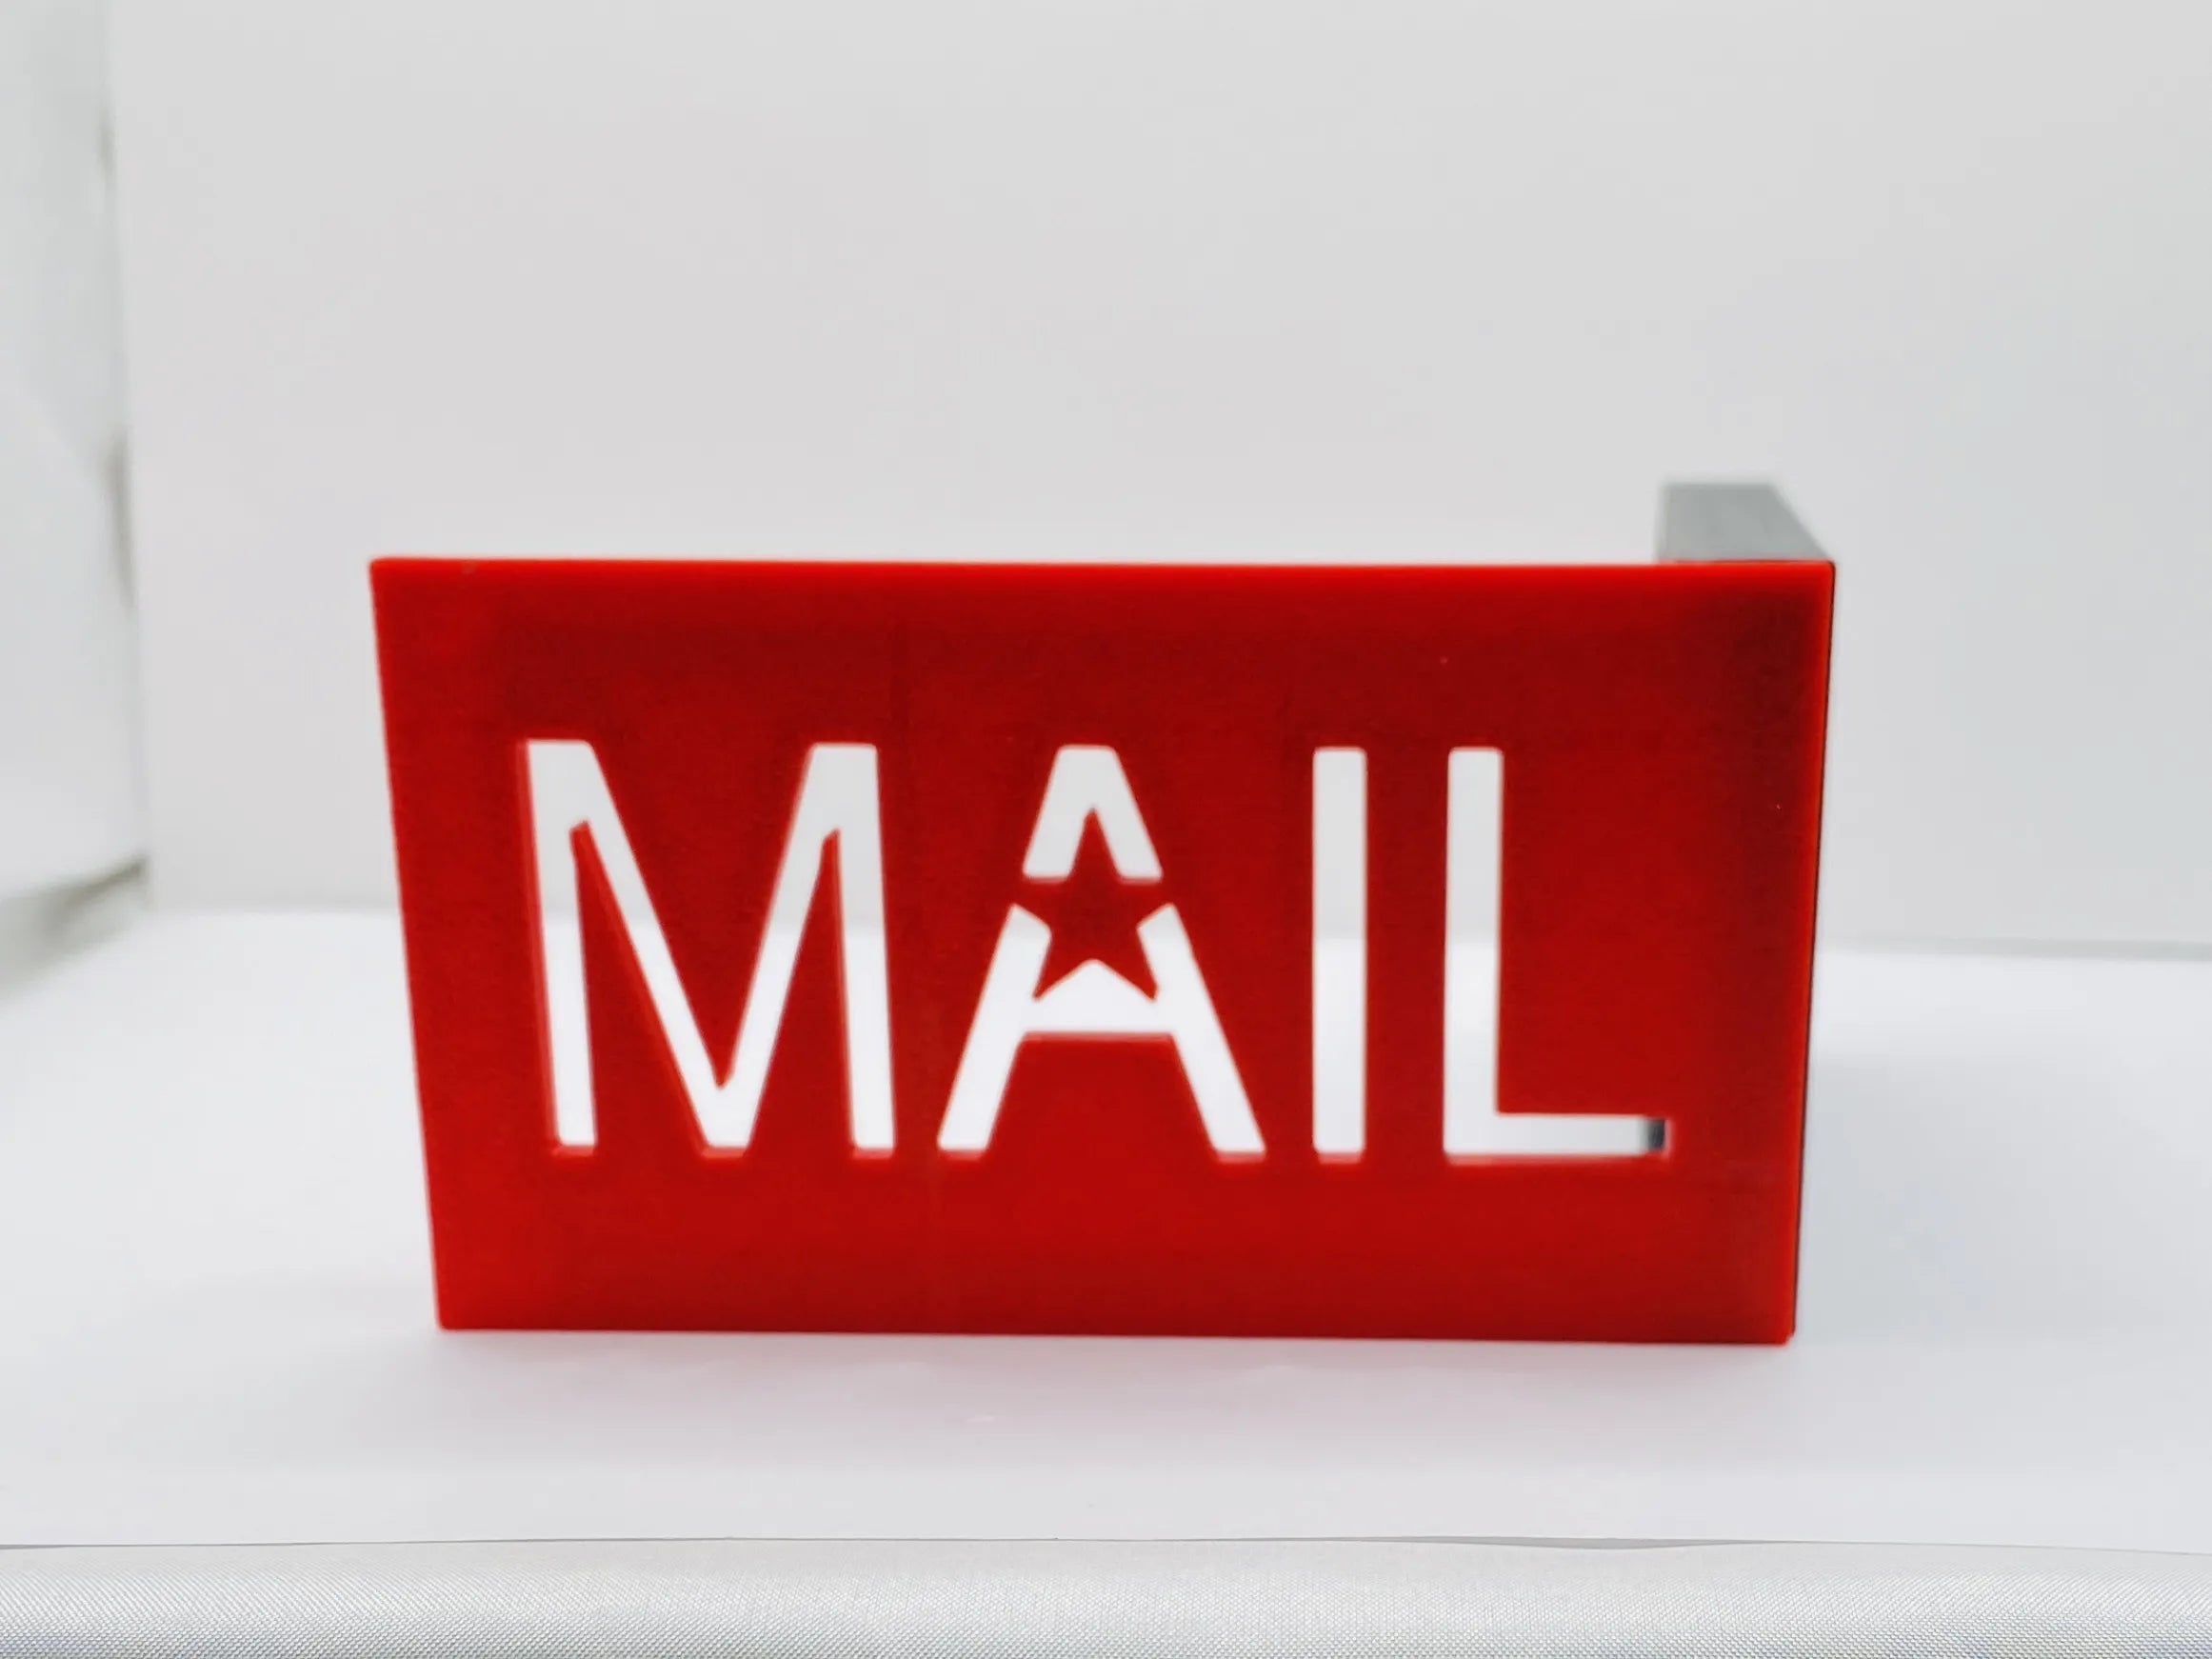
Step 1: Choose the Right Flag for Your Mailbox
Not all mailbox flags are designed for stone or brick surfaces, so it’s essential to choose a flag specifically made for these materials. Look for flags that come with masonry screws or strong adhesive that can bond to rough surfaces like brick or stone. Some flags also include brackets designed to attach securely to custom mailboxes.
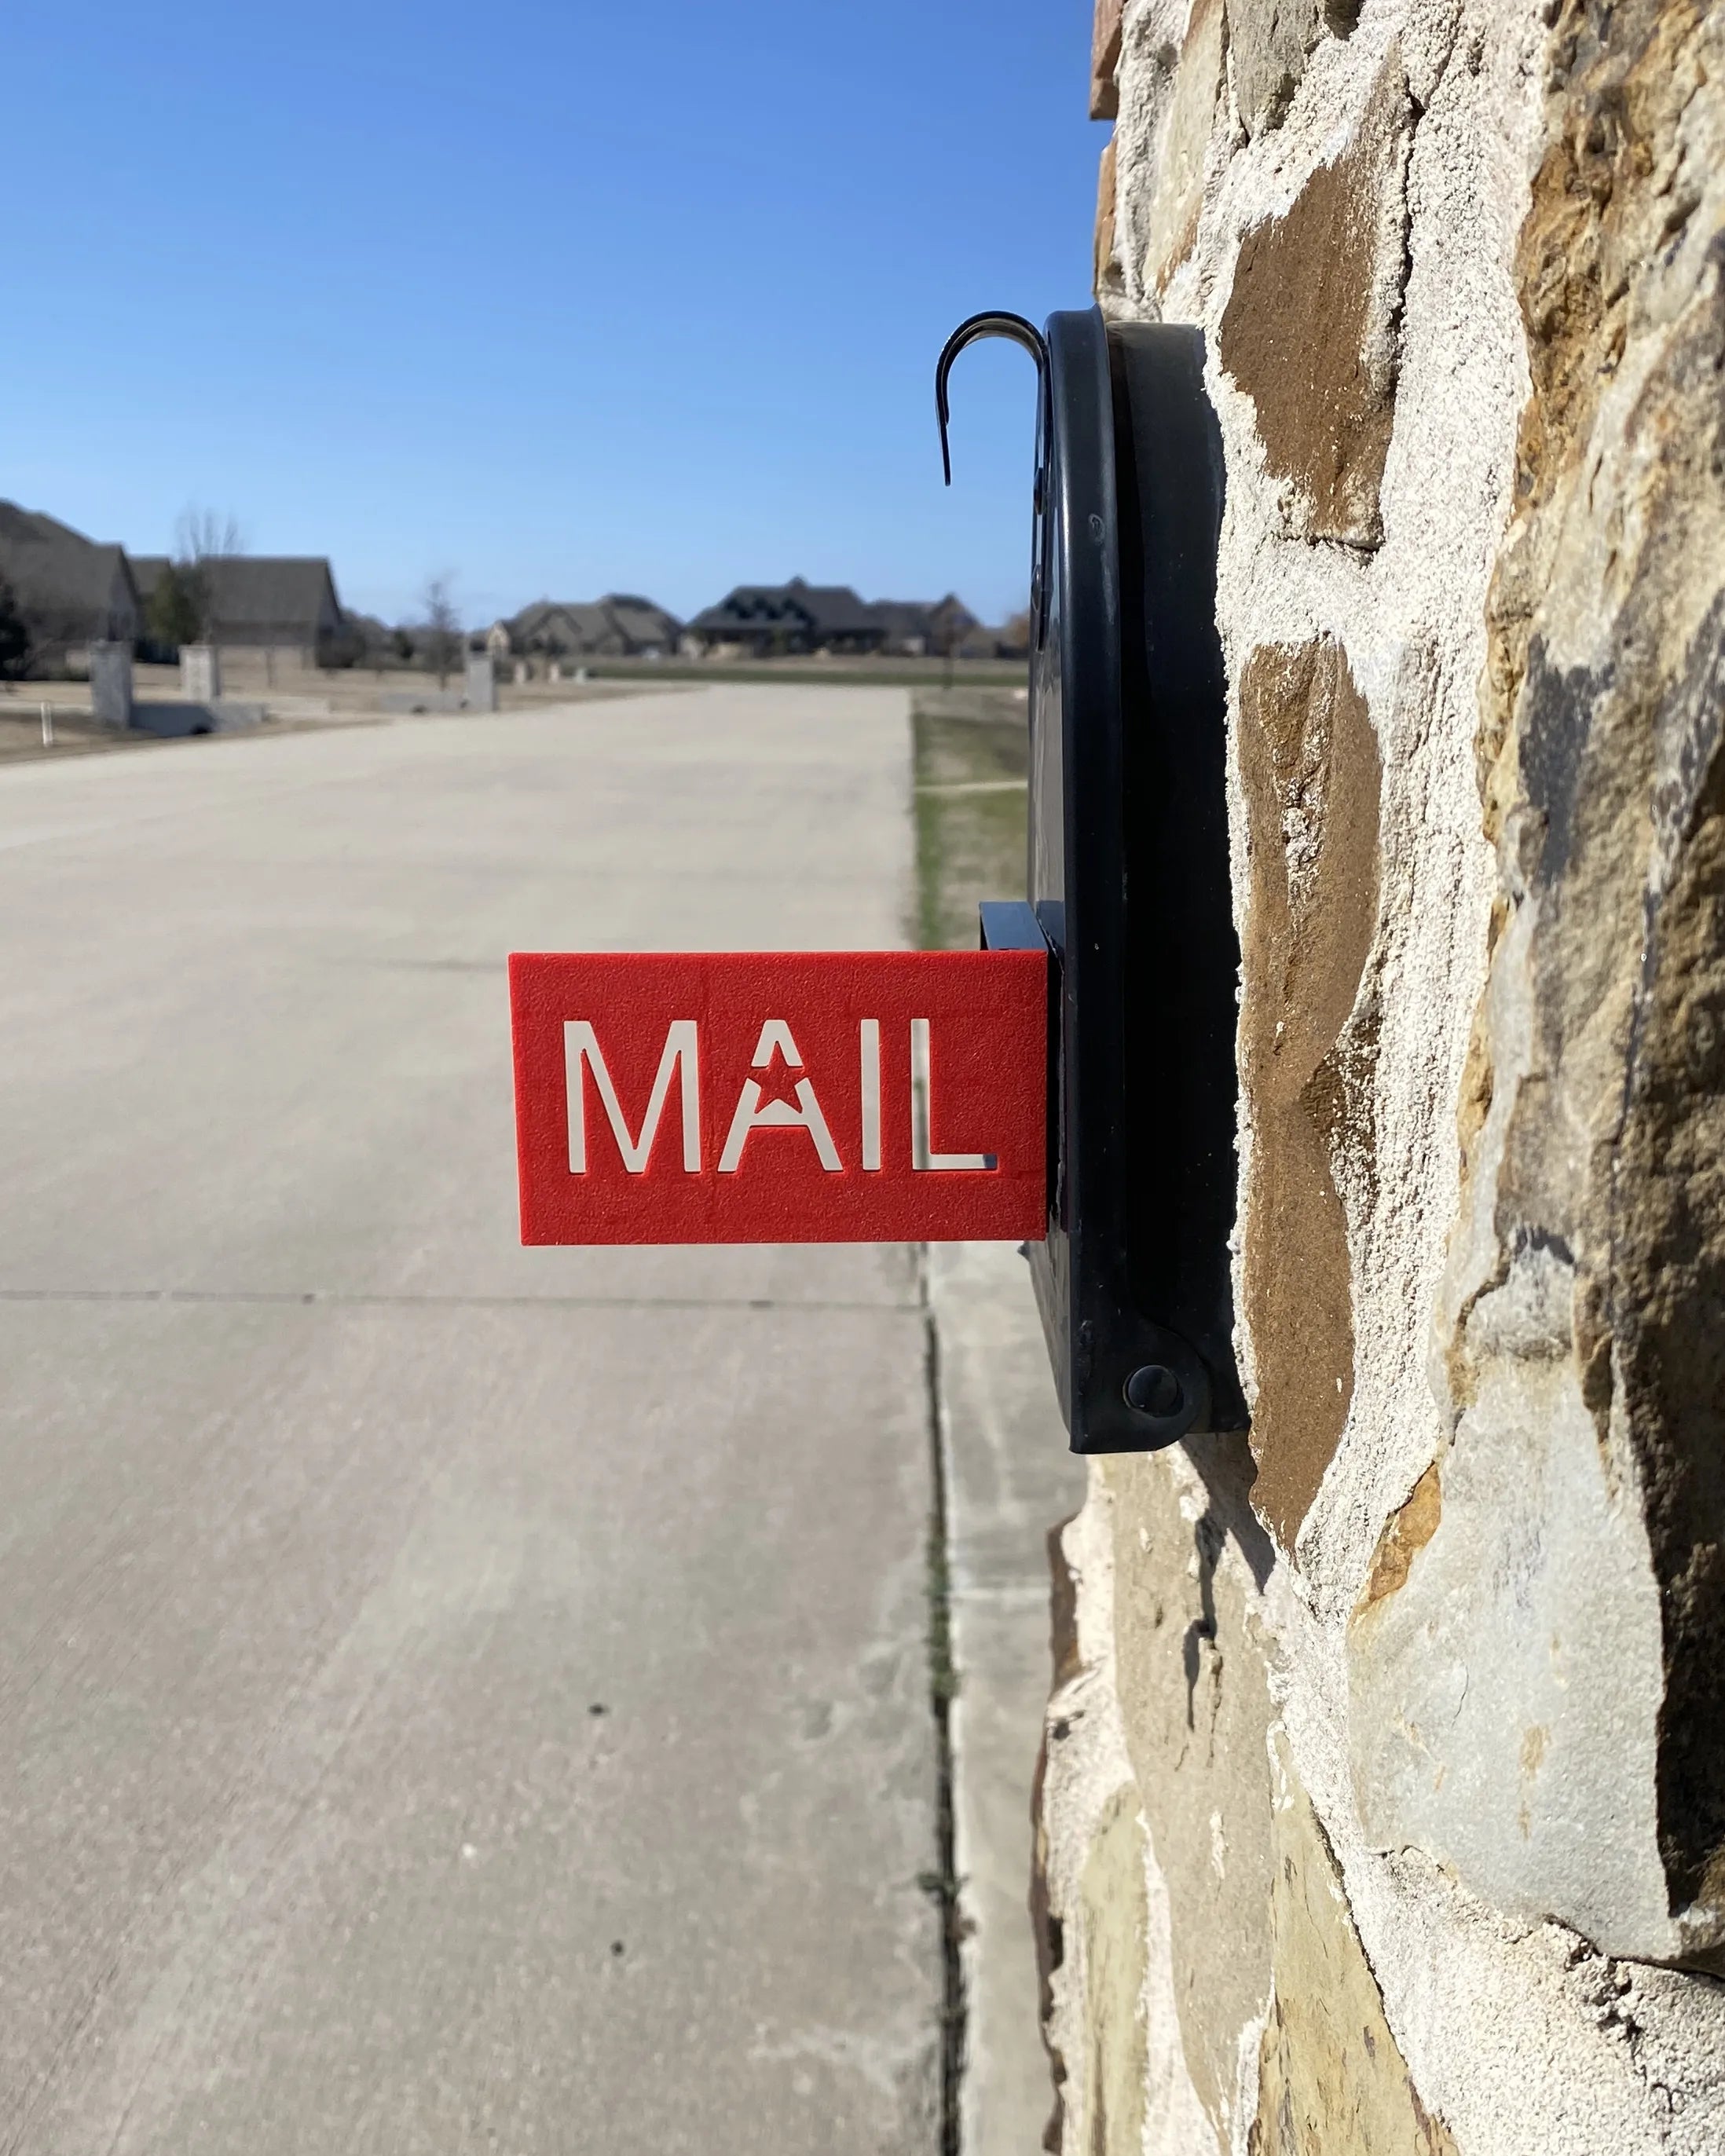
Step 2: Find the Perfect Spot for Your Flag
Next, you’ll want to figure out the ideal location to install the flag. Typically, the best spot is on the front or side of the mailbox where it’s easily visible to both you and the mail carrier.
- Make sure the flag won’t obstruct the mailbox door when opening or closing.
- If your mailbox has any decorative elements, position the flag in a way that won’t disrupt the design but is still functional.
- Use a level to ensure that your flag will be straight once mounted.
Step 3: Mark the Drilling or Adhesive Points
Once you’ve found the perfect spot, use a pencil or marker to make small marks where you’ll either drill holes or apply adhesive.
- For drilling, mark two to four points depending on how many screws you’ll use to attach the flag.
- For adhesive, mark the top and bottom of the mounting plate where it will stick to the mailbox surface.
Step 4: Drill the Holes (If Using Screws)
If your flag uses screws, it’s time to drill the holes. Here’s how:
- Attach a masonry bit to your drill. This type of bit is essential for drilling into hard materials like brick or stone.
- Drill small pilot holes at the spots you marked earlier.
- If needed, insert masonry anchors into the holes to ensure a secure hold for the screws.
Pro Tip: Drill slowly to avoid cracking the stone or brick. Let the drill do the work, applying just enough pressure to create the hole without damaging the surrounding area.
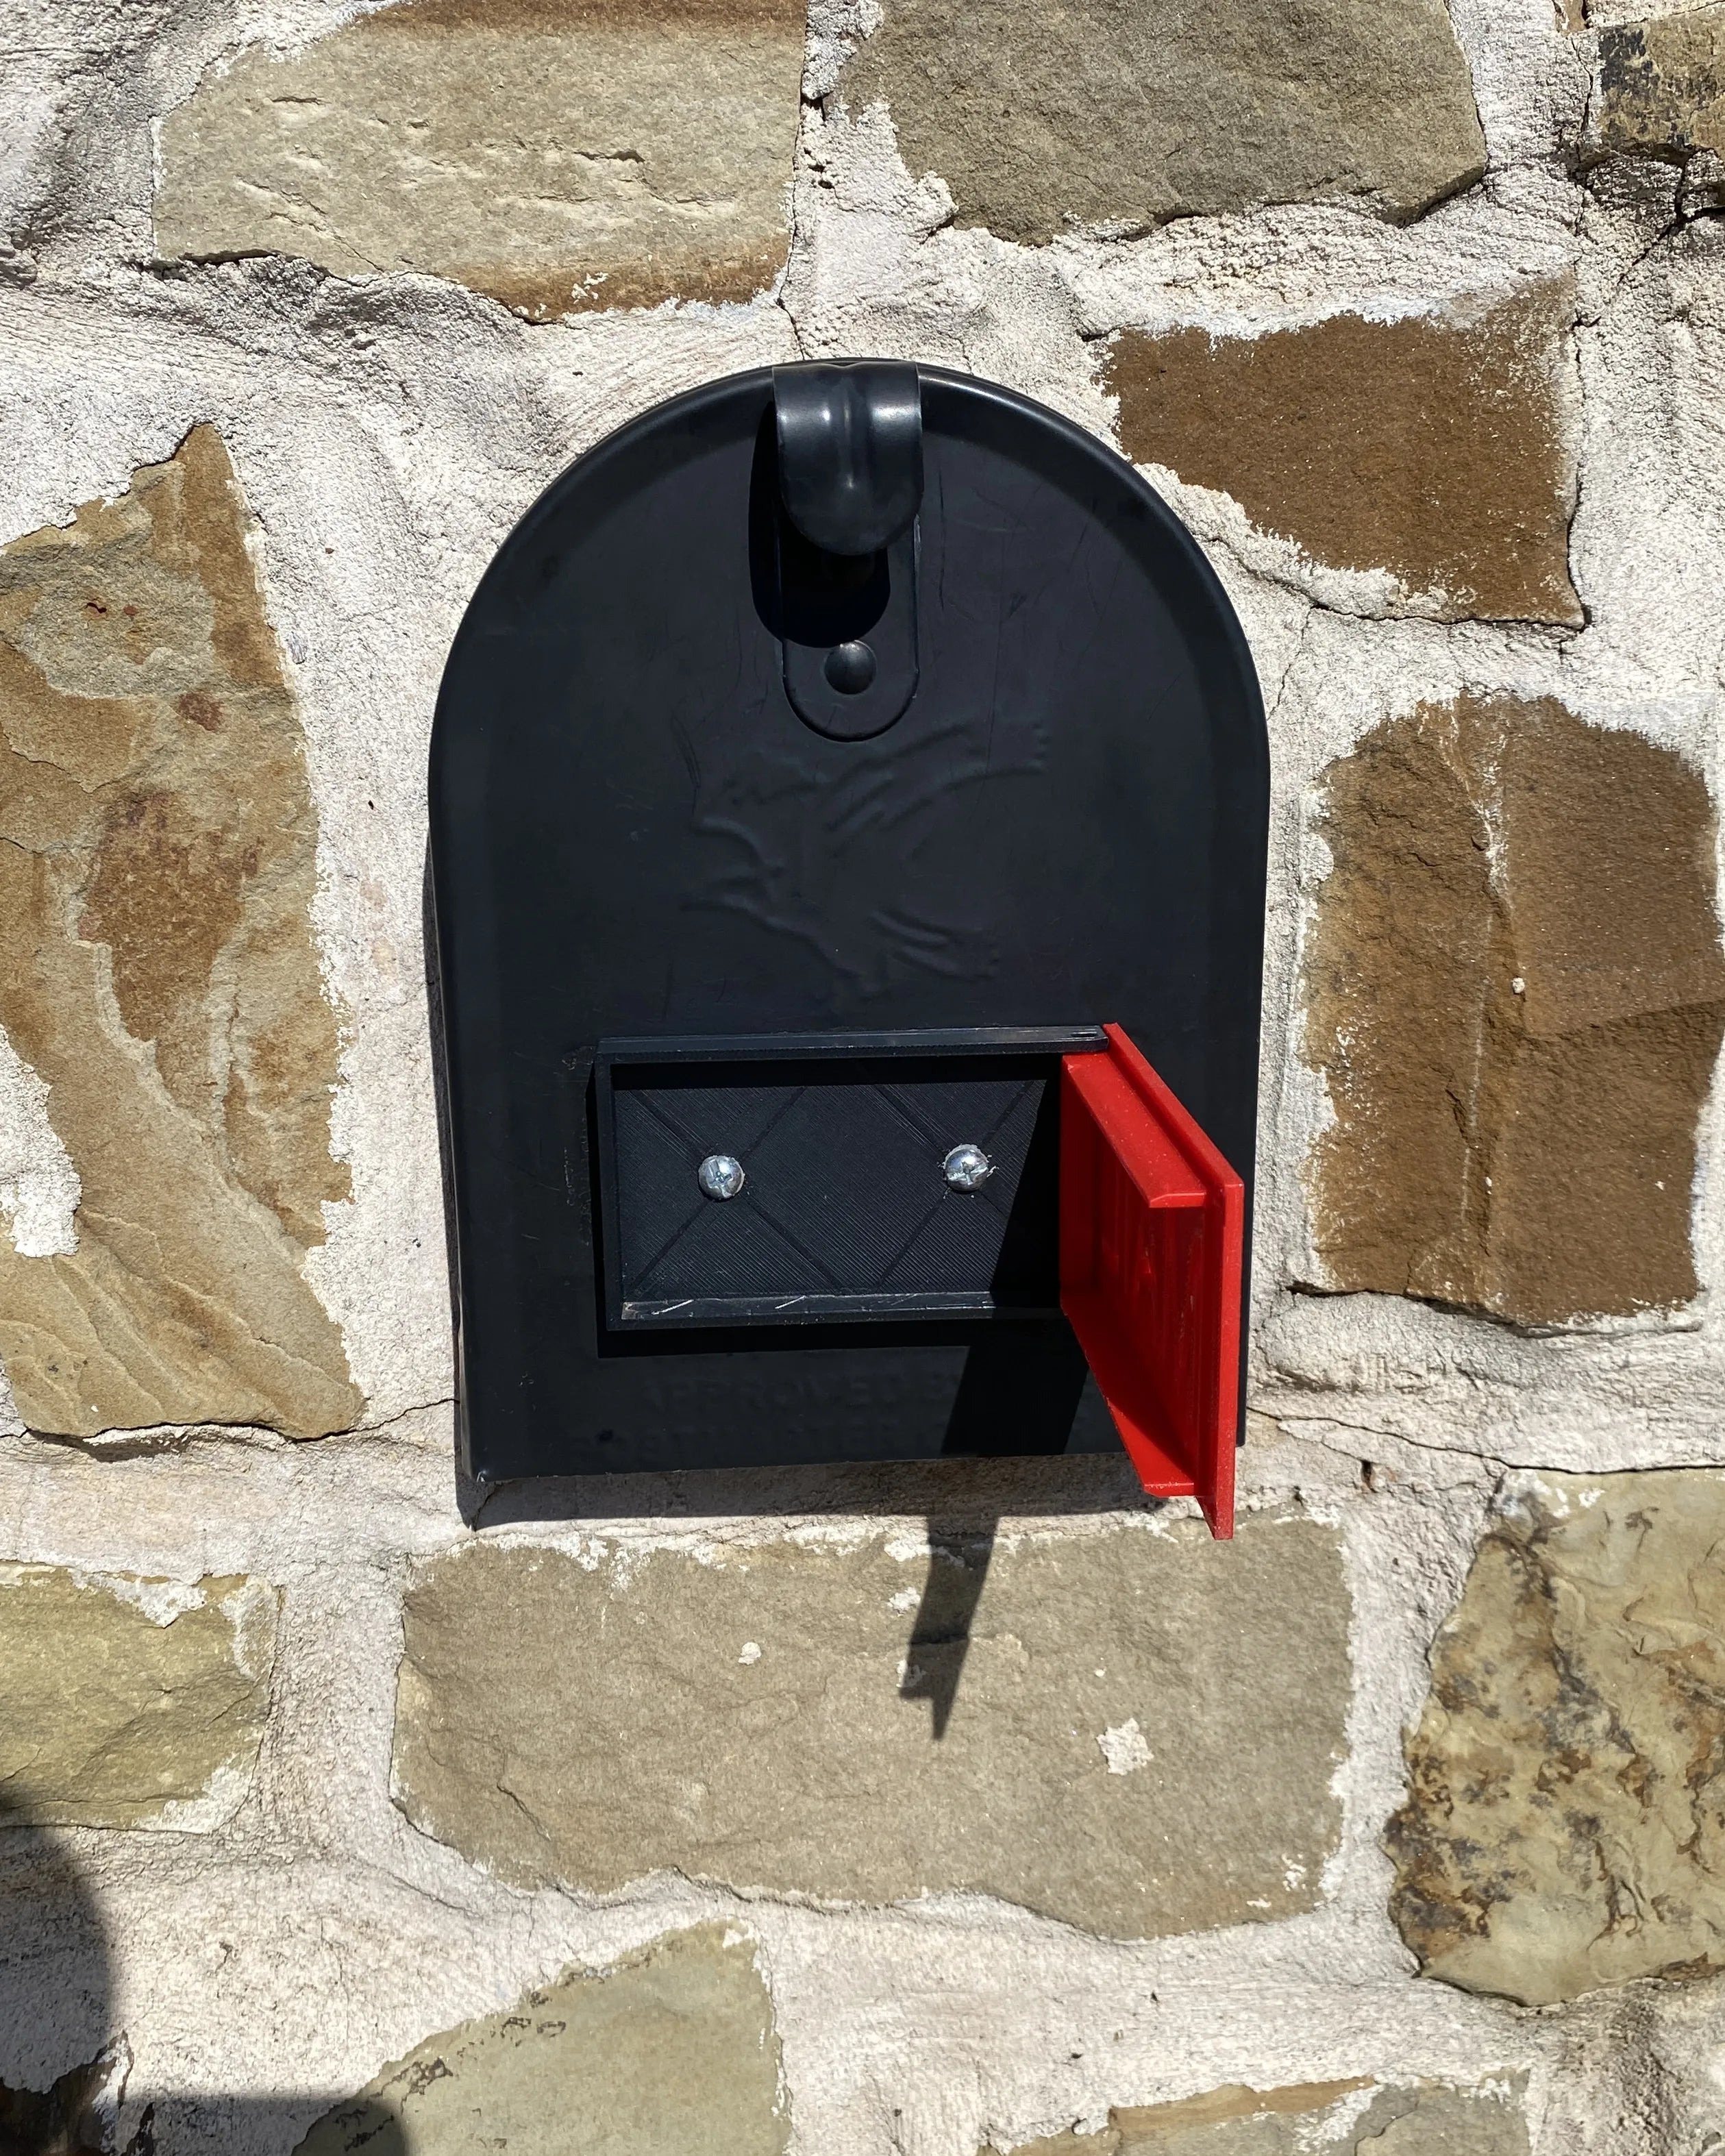
Step 5: Attach the Flag
Now that your holes are drilled or your adhesive spots are marked, you’re ready to attach the mailbox flag.
- If using screws: Align the flag’s mounting bracket with the holes, insert the screws, and tighten them with a screwdriver. Make sure the flag is securely fastened and won’t wobble.
- If using adhesive: Apply the adhesive to the mounting plate and press it firmly against the stone or brick surface. Hold it in place for a few minutes to ensure a strong bond. Check the manufacturer’s instructions for how long the adhesive needs to set.
Step 6: Test the Flag
Once the flag is mounted, you’ll want to test it out to make sure it works properly.
- Raise and lower the flag a few times to ensure it moves smoothly.
- Double-check that the flag doesn’t block the mailbox door or any other features.
- If you installed an automatic flag, check to see that it raises when the mailbox is opened and resets easily when closed.
Tips for Maintaining Your Mailbox Flag
A well-installed flag should last for years, but here are some tips to ensure it stays in good shape:
- Check the screws or adhesive periodically to ensure the flag remains secure.
- If you live in an area with extreme weather, consider using a weather-resistant flag to prevent damage from rain, snow, or heat.
- Clean the flag occasionally to keep it visible and functioning smoothly.
Why This Simple Upgrade Makes a Big Difference
A mailbox notification flag might seem like a small addition, but it adds enormous convenience to your daily routine, especially if you rely on your mailbox for important deliveries. With a flag installed, you’ll never have to guess whether the mail has arrived or whether your outgoing mail was picked up.
This is particularly important for those with custom stone or brick mailboxes, which are often beautifully designed but lack practical features like built-in flags. With this simple installation, you can ensure your custom mailbox is both functional and stylish.
FAQs:
Q: Can I use regular screws to install a mailbox flag on a stone or brick mailbox?
A: No, it’s recommended to use masonry screws and anchors designed for stone or brick to ensure the flag is securely attached without damaging the surface.
Q: How long does it take to install a mailbox flag?
A: Installation typically takes 20 to 30 minutes, depending on whether you’re using screws or adhesive. The process is straightforward and requires only basic tools.
Q: What if I don’t want to drill into my stone mailbox?
A: Many mailbox flags come with heavy-duty adhesive strips that bond well to rough surfaces like stone or brick. This option allows you to install the flag without drilling.
Conclusion: Enjoy the Convenience of a Notification Flag
Installing a mailbox notification flag on your stone or brick mailbox is a straightforward way to make your mail system more functional. Whether you choose a manual flag or an automatic one, you’ll no longer have to wonder whether your mail has arrived or if your outgoing mail has been picked up.
This simple upgrade provides peace of mind, ensuring that your mailbox is working as efficiently as possible. Ready to install your mailbox flag? Check out our range of custom mailbox flags designed specifically for stone and brick mailboxes, and never miss a delivery again!